
How to Mop Floors Properly: A Step-by-Step Guide
17 September 2026 · Jessica Gao
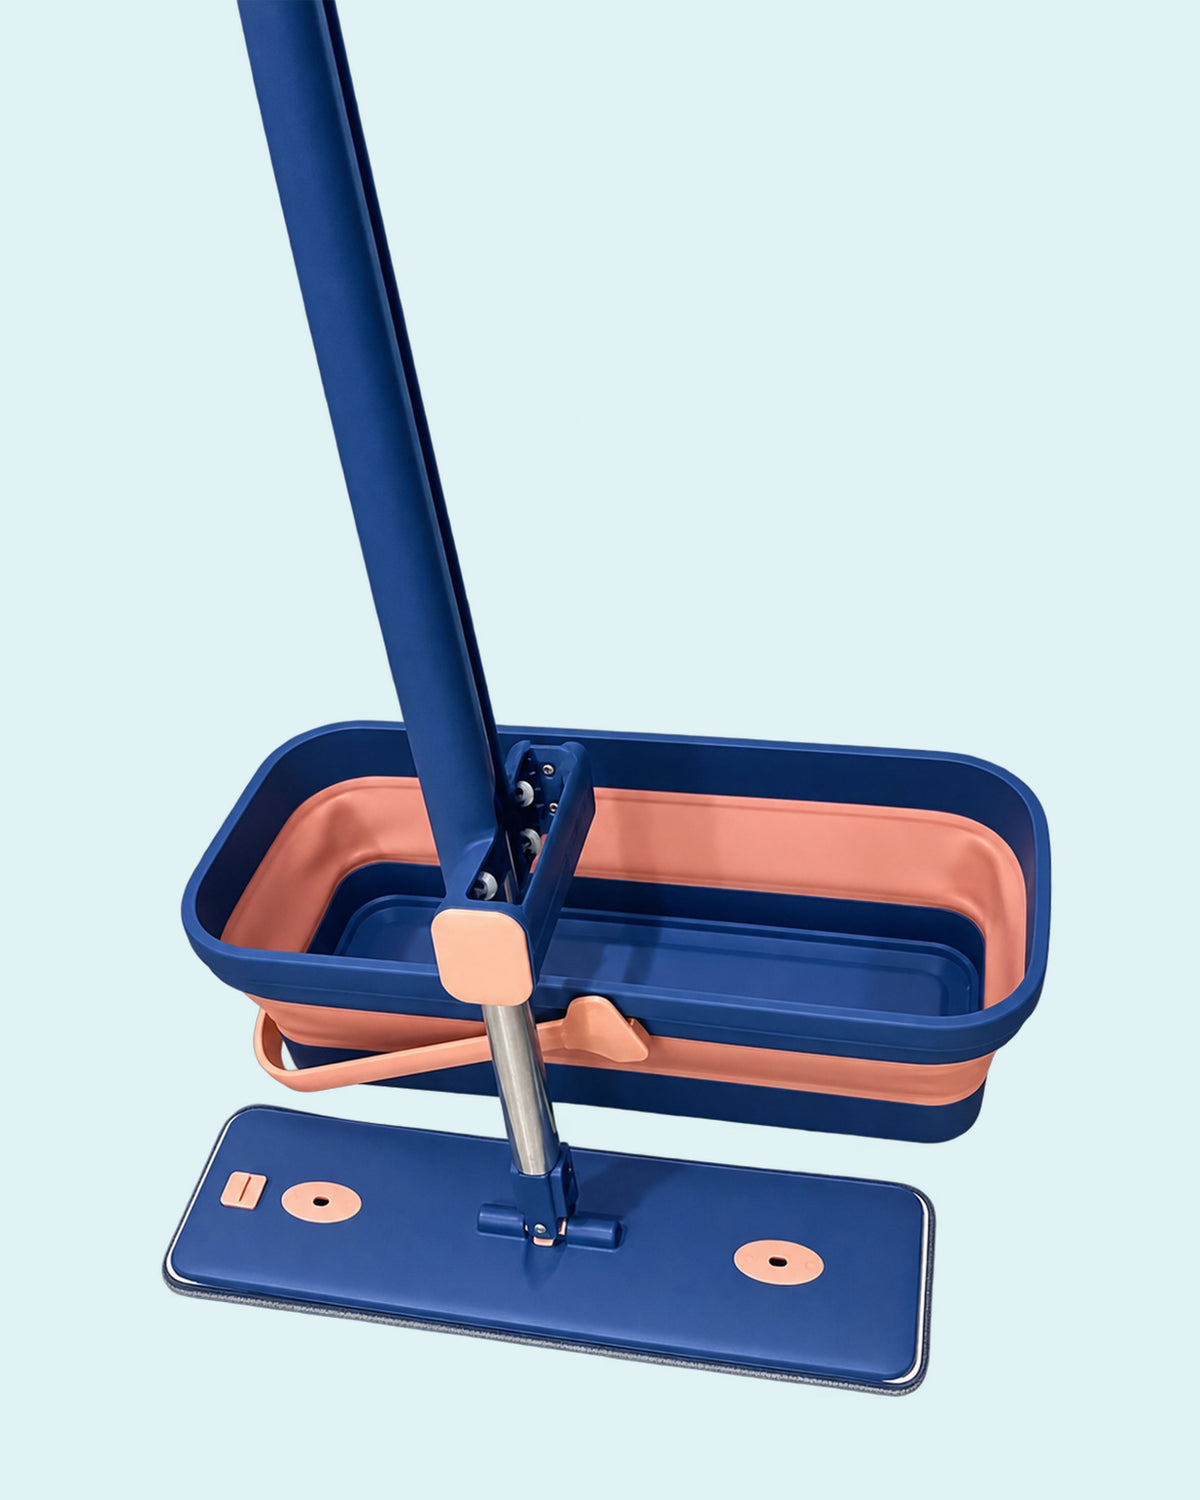
Knowing how to mop floors properly comes down to three habits: clear the grit first, keep the mop damp rather than wet, and use less cleaner than you think you need. Get those right and most hard floors come up clean in one pass, with no streaks and no water left sitting in the joins.
What do you need before you start?
- A broom or vacuum
- A mop that suits your floor (a flat microfibre pad works on most hard floors)
- A bucket of warm water
- A floor cleaner made for your floor type
- A dry microfibre pad or cloth for finishing
How do you mop a floor, step by step?
1. Sweep or vacuum first
A wet mop drags loose grit across the surface. That can scratch the finish and turns dust into smeary lines. Clear crumbs, hair and dust before any water goes down.
2. Mix your mop water
Add only as much floor cleaner as the label recommends. More detergent doesn't clean better. It leaves a film that dulls the floor and attracts dirt faster.
3. Wring the mop until it's just damp
The pad should feel damp, not dripping. A soaking mop leaves water on the surface, which causes streaks and can seep into the joins of timber, laminate and hybrid floors.
4. Work towards the door
Start on the side of the room furthest from the doorway and work back towards it, so you never have to walk across the wet floor. Use overlapping S-shaped strokes rather than pushing back and forth, which just moves the dirt around.
5. Rinse and re-wring often
When the pad looks grey, rinse it and wring it again. Change the bucket water as soon as it turns cloudy. Otherwise you're spreading dirty water back over a clean floor.
6. Dry or buff the floor
Finish with a dry microfibre pad or cloth. It picks up leftover moisture and cleaner, which are the usual causes of streaks and a hazy finish, and the floor is ready to walk on sooner.
How should you mop different floor types?
| Floor | How wet | What to use | What to avoid |
|---|---|---|---|
| Ceramic or porcelain tile | Damp, then dry | A small amount of mild detergent | Too much detergent, which leaves a haze |
| Sealed timber | Barely damp | A pH-neutral timber floor cleaner | Excess water, methylated spirits, kerosene, and steam unless your floor's maker allows it |
| Laminate | Barely damp | The cleaner your floor's maker recommends | Wet mopping and steam |
| Vinyl plank and hybrid | Barely damp | A pH-neutral, non-abrasive cleaner | Wax, abrasive cleaners, dishwashing liquid and steam |
| Marble and natural stone | Barely damp | A cleaner labelled for stone | Vinegar, citrus and other acidic cleaners, which etch the surface |
Your floor's own care guide always wins. If it says something different, follow it.
Why does my floor look streaky after mopping?
Streaks almost always come from one of four things:
- Too much cleaner. Cut back, or do a second pass with clean water.
- A mop that's too wet. Wring harder so the pad is only damp.
- Dirty water. Change it the moment it looks cloudy.
- Letting the floor air-dry. Buff it with a dry pad instead.
How often should you mop?
It depends on foot traffic. Kitchens, entries and bathrooms usually need mopping weekly, plus a quick clean after spills. Bedrooms and quiet rooms need it far less. Sealed timber is best damp-mopped no more than about once a week, with a dry sweep in between.
How do you look after the mop pad?
A clean pad cleans better. Wash microfibre pads in cold or lukewarm water with a mild detergent, skip the fabric softener and bleach, and line dry. Our cleaning and care guide has the full routine.
A mop that does the wringing for you
Wringing is the messiest part of the job. The Cleanmatic 8-in-1 self-wringing flat mop and bucket set handles it for you: push the mop into the bucket, pull it back through the double scrapers, and the microfibre pad comes out damp and ready. Your hands never touch the water. It also has a built-in detergent chamber, a squeegee edge for spills, and a bucket that folds flat. See how to use a self-wringing mop for a walkthrough.